
I often get asked where to start learning PCF. What are the prerequires? And there are more advanced questions which are hidden inside official documentation or blogs. Often search engines (or even Copilot) doesn’t find them. I’ll try to make this blog your starting point where you can find out about the learning sources I know. I promise to add more content, when I hear something new, and keep this blog up-to-date.
- PreRequires
- Overview of PCF development
- Virtual Component vs Standard Component
- Field PCF
- Dataset PCF
- PCF development using Fluent UI v8
- PCF Debugging
- Solution Packaging
- ALM with PCF
- Output objects
- Translations/Localization
- PCF Styling and Theming
- Fluent UI v9
- Custom Events
- Power Apps Grid customizer control
- Extended requirements
PreRequires
Setup
Setup your developer environment and local setup is documented here.
- Visual Studio Code (VSCode) (Ensure the Add to PATH option is select)
- node.js (LTS version is recommended)
- Microsoft Power Platform CLI (Use either Power Platform Tools for Visual Studio Code or Power Platform CLI for Windows)
- .NET Build tools by installing one of the following: (At minimum select the workload
.NET build tools.)- Visual Studio 2022
- Visual Studio 2019
- Alternatively you may prefer to use the .NET 6.x SDK instead of the Build Tools for Visual Studio. In this case, instead of using
msbuildyou would usedotnet build.
- It is recommended to install git for source control
Environment setup
You need a Power Apps Environment where you can play around. The easiest way is to make your own developer environment : Create Power Apps Developer Environment
If you create PCF for Canvas Apps or Custom Pages, you need to enable the Power Apps component framework feature in your environment

That will allow you to get also the “Code” tab, when you “Get more components”

Prerequired Knowledge
We need to know TypeScript.
In case you are looking for learning resources on TypeScript, you could try the
“ES6 and TypeScript Tutorial” on YouTube
By codevolution

By codevolution
Also we need some basic understanding on how npm (the nodeJS package manager) works.
To get some knowledge on that, you could have a look to the “npm Tutorial for Beginners” on YouTube (codevolution)
The last piece is React. You don’t need to know React from beginning, and theoretically you could use any other framework (Vanilla JavaScript is not a good option for more complex implementations). But the Power Platform runtime is written in React, and we can make “virtual components” where we can use the React and FluentUI libraries from the Framework ( so we get lightweight and much faster components). So I would recommend to learn React.
In case you are looking for React learning resources:
React TypeScript Tutorial on YouTube
By codevolution

React docs can be found here.
Overview of PCF development
First things first. You’ll need to bookmark the PCF docs. It’s the base for everything:
Create a PCF project using pac cli
Using the pac cli, you can create a new PCF project (.pcfproj), but also a solution project (.cdsproj) to be able to distribute your PCF later on.

The PCF project will include:
Manifest (ControlManifest.Input.xml)
The manifest is probably the most important for defining the PCF functionality: it is the place where we can define how a PCF will interact with Power Apps. It includes the definition of the name, namespace, version, properties, used resources and platform features used, and would look something like this:

Here a few links regarding the manifest:
Component implementation (Index.ts)
The implementation is using TypeScript and Index.ts the starting point for coding a PCF.
Here we will implement the main methods of a PCF
init
//method called when a PCF in created
public init(context: ComponentFramework.Context<IInputs>, notifyOutputChanged: () => void, state: ComponentFramework.Dictionary, container:HTMLDivElement): void
  {
     this.container = container;
     this.notifyOutputChanged = notifyOutputChanged;
     this.render(context);
  }
updateView
//will be called each time something changed (like the properties value, the width or height)
public updateView(context: ComponentFramework.Context<IInputs>): void
    {
        this.render(context);
    }
UpdateView is a very important to understand: it will be called quite a few times, and you need to know when the platform will calls you. When we come from HTMLWebResources development (or generally from frontend development) we are used to take care of the whole application lifetime. But PCFs are only components, controlled by the Power Apps runtime, so we need to understand how they will be rendered.
The updateView will be often called. It could be a few times with the value null, even if the property value is not null. But the last call will have the correct value. Also notice that the init and updateView are not async functions.
You can check why the updateView was called, by inspecting the context.updateProperties.
For more information a few docs and blogs I have on this:


PCF Components and setVisible/setDiabled
by Alex Shlega
getOutputs
It is called when the platform was notified that there is a new value available(using the notifyOutputChanged callback, provided through the init method). Here we can “tell” the platform about the values changed inside the PCF.
public getOutputs(): IOutputs
   {
     return {myProp: value};
}
Read more on this on my blog post:
destroy
//this method will be called when the PCF is unloaded
public destroy(): void
   {
       ReactDOM.unmountComponentAtNode(this.container);
   }
More resources for starting with PCF development


Building PCF controls FULL COURSE for Beginners
by Carl de Souza


This is a great collection of PCFs made by the community. Each PCF listed, provides the code. You can have a look to the components, and learn form there too.

VS Code Extension: PCF Builder
By Danish Naglekar
This is a VS Code extension which helps with the project creation/packaging process, but it has also other nice features (for instance easier creation of resx files, and many more)
Virtual Component vs Standard Component
There two types of code components: the standard and the virtual components. The standard components include all the needed libraries inside the bundle. That means that with each PCF developed with React or Fluent UI, we include those libraries in each component.
The virtual components have 2 main differences:
- the bundle doesn’t include the React or Fluent UI library in the bundle. Rather than that, the PCF is “borrowing” the React and Fluent UI from the Power Apps runtime.
That makes the PCF bundle much smaller - The standard PCF is only getting a DIV HTML element and is taking care of rendering inside that DIV. Different than that, the Virtual PCF is included in the Power Apps render process, and the updateView is returning the React element to be rendered.
That makes the render process also much faster.
The Virtual Components are officially still in preview, but the most of the components out there are using them (for instance the Creator Kit). So I wouldn’t worry to use it in production.
The exception seems to be on Portals (Power Pages), where Virtual Components are not supported.

To manually convert a virtual component to a standard is not hard. In the blog below, Scott Durow shows us how it’s done:
How to convert a pcf code component to a virtual control
by Scott Durow
In my blogs I talk about Virtual Components showing:
- The performance difference when using a Virtual Component
- Using the Virtual Components on a Business Process Bar
- Differences to consider in updateView implementation, working with async requests there and how to optimize the rendering in updateView, considering that it is called pretty often

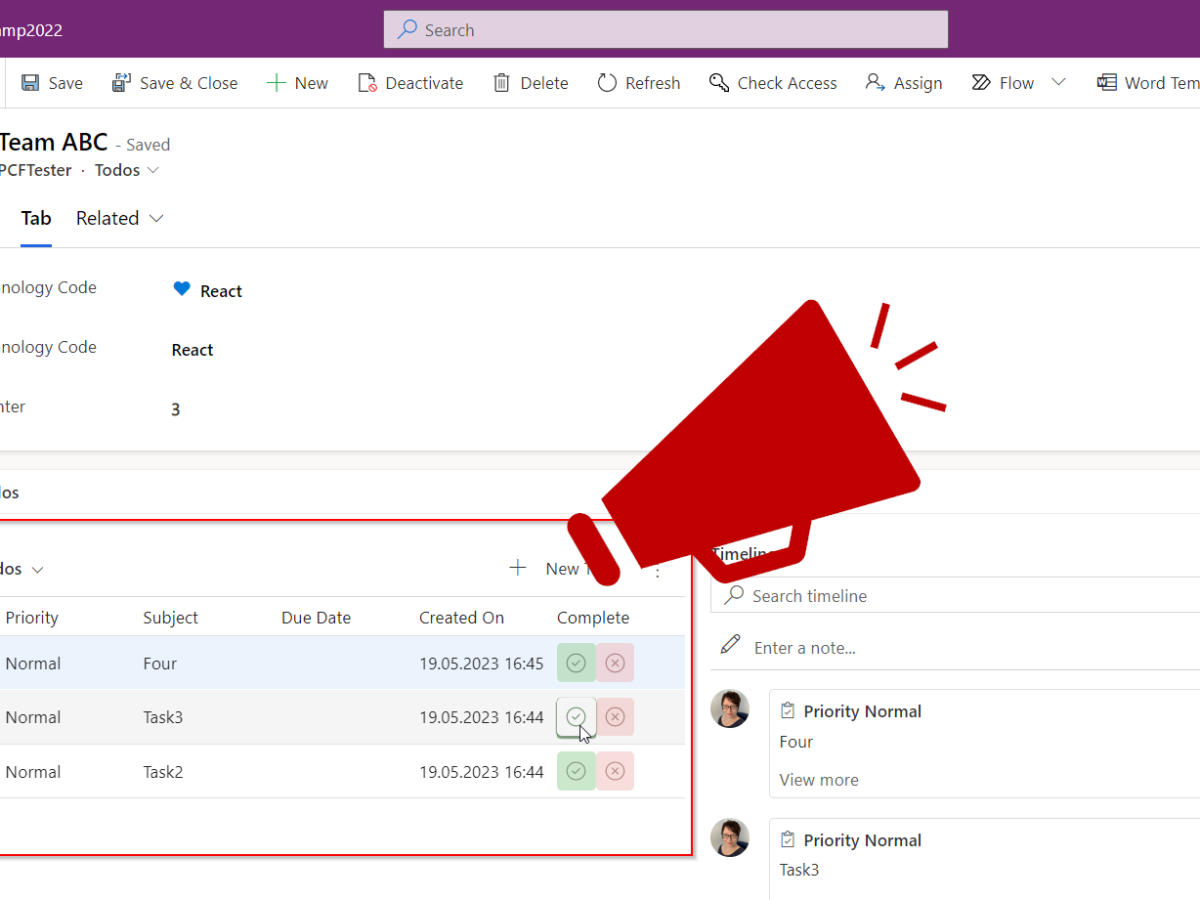
Field PCF
A field PCF is a component containing at least one “bound property”. You can decide if the PCF is also changing the value (by calling notityOutputChanged which calls the getOutputs method).
A PCF can include more bound properties in a single component.

PCF Samples: Implementing linear input component
Here we also see how to work with type-group (the propeties can have multiple data types)
In the following blog I use an OptionSet to define one or more buttons, and show how to work with the form-scripting in model-driven apps, to react when the values are changes in PCF. Also this button PCF for model-driven apps can be used to open Dialogs.

Composite controls
This blog shows how to work with multiple bound properties, and the disabled and the hidden state of a PCF can only be applied for the first bound property
Lookup PCF
Working with Lookup PCFs:
– configuration,
– configuration if the lookup is the second property,
– open the lookup dialog
– reading further configuration settings for model-driven apps (most are still unsupported)

Also, interesting blogs about lookup PCF by David Rivard:
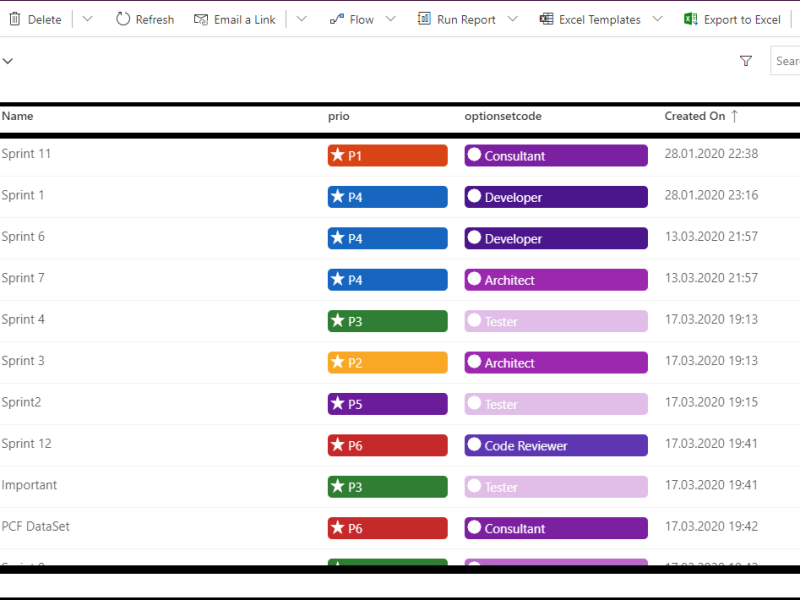
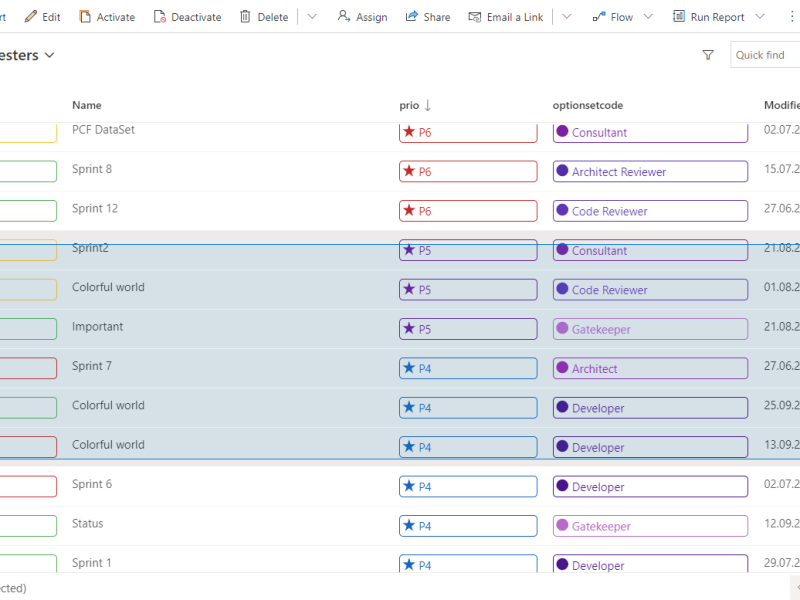
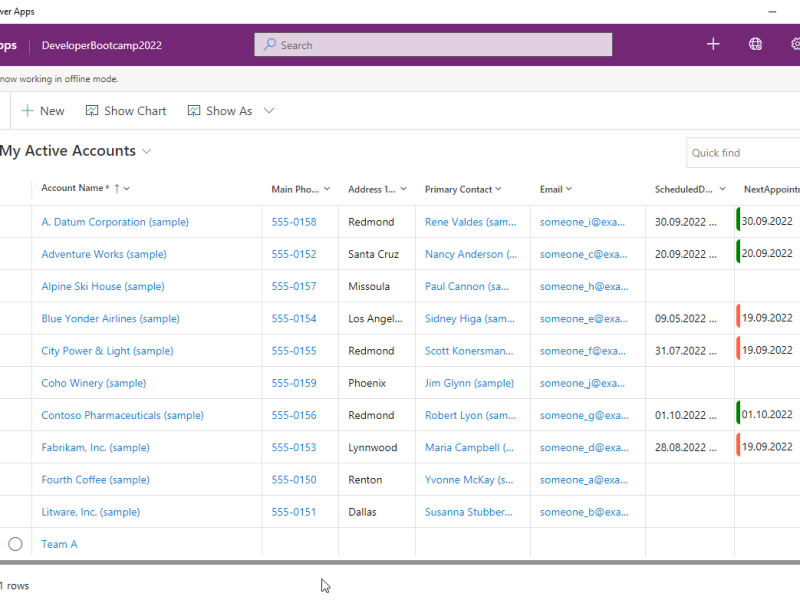
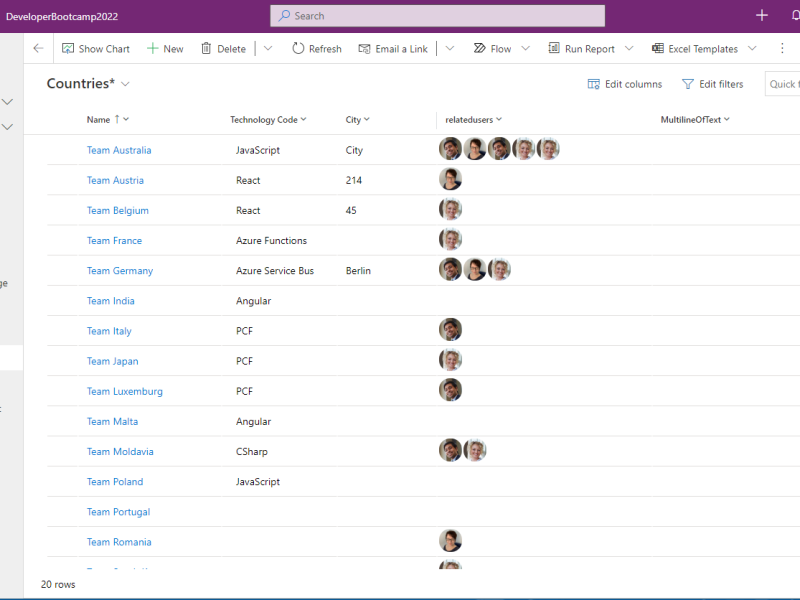
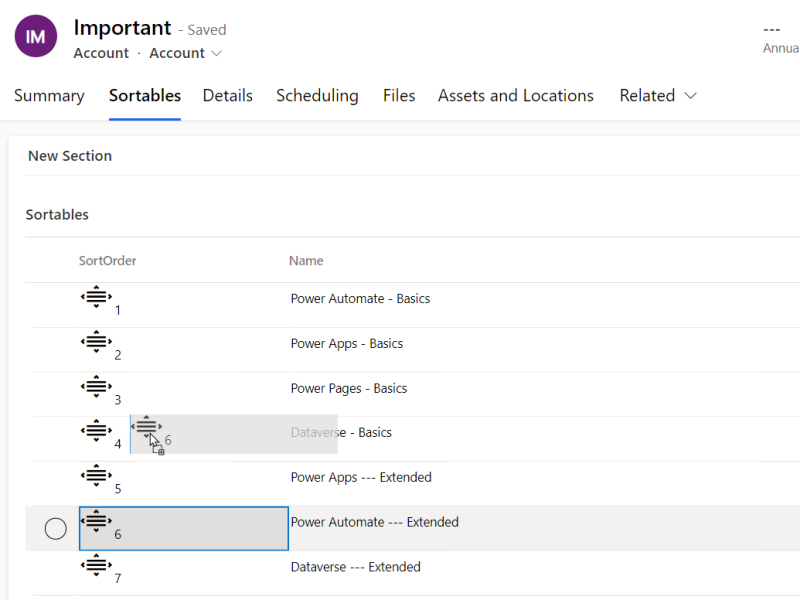
Dataset PCF
A dataset PCF is a component where the first property is a data-set. We can include one or more datasets in one PCF. We can also combine a property with dataset (but a bound property cannot be combined with a dataset PCF in model-driven apps).
The following blogs are an overview of using a dataset PCF talking about:
- the advantages of a dataset over using webAPI to read the data
- better customizing, metadata assisted
- we have access also to the Canvas Apps/Custom Pages connectors
- able to use paging and sorting,
- able to use out-of-the-box search, command bar and view selector
- interaction with the platform (ribbon, commands, navigation)
- being able to use the property-set which will
- define an alias for the column, while the maker is able to choose from a metadata assisted dialog
- the platform will add the column for you, even if they are not defined in the view
- able to manipulate the definition of the query:
- filtering
- addColumn
- linking
- using multiple datasets in one PCF


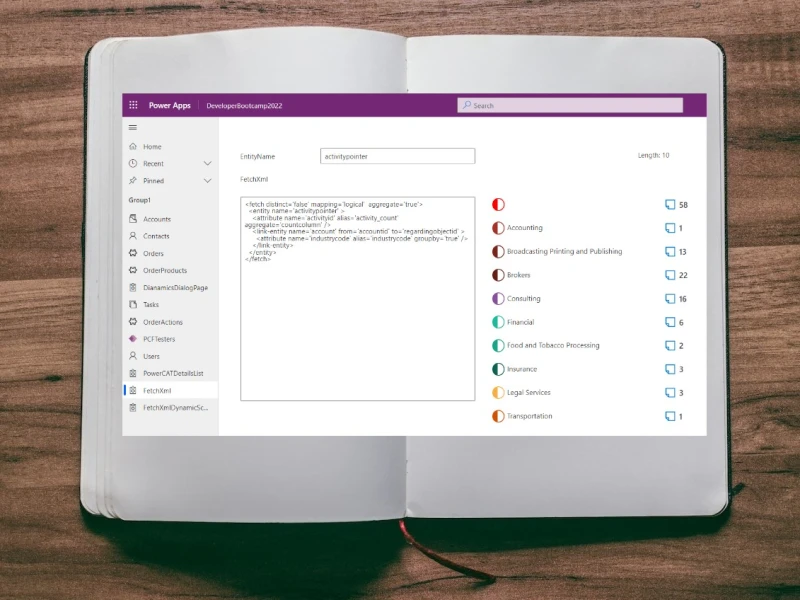
Dataset PCF: programmatically filtering, linking, sorting, addColumns
There are some other blogs where I dive deeper in the possibilities to filter and extend a dataset using code. Here you can find details about:
- using linking on datasets. We can extend only with tables directly related to the main dataset
- using filtering by code. The filtering can be applied on the dataset itself, or on the tables linked using “linking”
- using addColumn to add more columns to the dataset (not provided in the view)
- addColumn works on related tables too (added with linking)
- Available only for model-driven apps
Using all that, I have a second blog where we can use these knowledge and apply it on subgrids. This way we can go beyond the possibilities offered for related tables: in customizing we are not limited to “only related records”; we can choose a table not directly related and apply filtering using code. Or we define more datasets, and filter one based on the results from the first dataset. Please see more details in the blogs:


Editing a dataset PCF
It is also possible to make changes on the dataset data, and save it. But there are differences between model-driven apps and canvas app. For instance is only possible to create new records/delete records only in canvas apps. Also there are some differences in the format of the data we need to provide.
The edit features should be supported, but there are some features (like saving in Canvas Apps) which are experimental. Please check the docs before using them:
In the following blog I wrote about my experiments with editing a dataset. It works in model-driven apps and even in offline mode. I could even save a dataset connected to an excel file on my one-drive.

PCF development using Fluent UI v8
I’ve wrote a blog series about what to take care when implementing a dataset PCF with Fluent UI 8
In other blogs I wrote about some other aspects of implementing PCFs with Fluent UI 8


PCF Debugging
To debug the code components, we have a few possibilities.
- debugging inside the test harness
- using “pac pcf push” we can push a debug version of the PCF to the environment
- using browser devTools
- using Fiddler-Autoresponder (that way we don’t upload the bundle after each change, but use the local bundle)

Solution Packaging
In the tutorials we learn how to generate a “solution project” (.cdsproj). We can add a reference of the PCF to this solution project, and build it. This will generate a solution(.zip) from scratch. This solution can be added to the
In the following video I go together with Daniel Laskewitz the whole process through:
- create a pcf project
- create a PCF and push it to the environment (using pac pcf push)
- change the PCF and upload again the PCF
- If you make the PCF for canvas app, it’s important to increment the PCF version
- ALM considerations
- you can create a “solution project” using “pac solution init”.
- But you can also download and unpack the customizing to a “solution project” using “pac solution clone” and later “pac solution sync”. That will also create a “cdsproj” where you can add the a reference to your pcf project.
You might want to have a look to the complete playlist Daniel Laskewitz and his guests made on the pac cli possibilities. There are a lot of valuable insights:
During the packaging process, it’s important to take care of the “pcf version”. In the following blogs you can find more details about
- PCF version,
- Solution version
- where to find the PCF vesion for a PCF uploaded to the environment
- if you use “pac pcf push” and import also using the solution, you might end up with a managed and a unmanaged solution layer. That could cause problems.
- When incrementing the version, we can use the current version to autoincrement (pac version strategy). Or we could use also use a file to track the version. Other option is to use gittags


ALM with PCF
In the docs, there are documented some possible strategies when using PCF. You could choose to deliver the PCF as a solution dependency (deliver the PCF with a separate solution). Or maybe you want to include it in the solution containing the customizing., That can be done by using “pac solution clone” or “sync” and add the PCF project to it. Or you can upload the PCF to the environment and add it there to your solution.
It doesn’t matter what you choose, but an important aspect is to always make a production release of your PCF. Read more about this on my blog

ALM: Code first approach
Putting it all together, I have two blogs where I uncover how to develop a DevOps Pipeline using the code-first approach. This allows branching, and takes care of
- autoincrement PCF version,
- keep it in sync with the solution version
- uses solution clone
- pack to production version
- the developer can in the mean-while use the environment for further development
- uses the pac cli in the pipeline
- commits the changes to git

The code-first ALM is not only about PCF and customizing. It should include also PlugIns and WebResources. Marc Schweigert (aka devkeydet) has some resources on this
- details on using “pac solution clone”/”pac solution sync” on github
- a youtube video showing how it works
- his github repository “HelloFusionDev”
Output objects
The output properties can be also of type “object”. Beside “getOutputs” we can also define another method getOutputSchema, where we provide a schema for the JSON output. That’s useful for Canvas App, where the app is able to understand the object and let you work with it, without having to parse the JSON in your app.
We can use the output objects also inside model-driven app, where we can attach to changes using the addOnOutputChange event and use the control.getOutputs api. See my blog below, for more details:
The output object in combination with output schema is very useful inside Canvas Apps/Custom Pages. In the blog below, I’m showing how to use outputObject to make complex fetches inside Custom Pages, and work with the result in low-code.
Other blogs:
First look at PCF dynamics schema object outputs
Blog by Scott Durow
Translations/Localization
We are supposed to use resx files to define the localizations for our PCF. Each language will havd it’s own resx file. There are two ways to access the labels:
- the labels from the manifest will be translated automatically from the resx file corresponding to the current language. In the manifest there are definitions for “..-key” (like the description-key). If this key is found in the resx file, it will be automatically translated. Otherwise the default from the manifest will be taken
- we can access the labels from the resx also in code, by using the context.resources.getString(name)
See the localization API sample PCF.
A great deep dive on this can be found in the blog from Ivan Ficko (Dynamics Ninja): PCF Localization
PCF Styling and Theming
Using CSS
You can include CSS inside your PCF. For that you need to declare the CSS in your manifest. If you use CSS, it’s important to scope the styles to your PCF; otherwise it could overwrite the Power Apps styles and create trouble.
In standard components we are supposed to prefix the classes, by defining the classes like this
.YourPCFNamespace\.YourPCFName .className{
...
}
Then you just need to use “className” defined above in your code.
For virtual components we should do the same, but in my last test this was not done automatically by the framework. There I had to attach a root class to my root component, and then I could reference all other styles to this root one.
CSS-In-JS
We can use javaScript to generate CSS classes, rather than inline styles. In Fluent UI we use merge-styles
CSS-In-JS with Fluent UI v9
Fluent UI v9 uses Griffel for CSS-In-JS. For deep dive, see the following training video:
Images
We can include images inside the PCF. For that we need to declare them in the manifest. We can access the images using the context.resources.getResource() api. But this method is available only for model-driven app (documentation).
Benedikt Bergman as a blog about using images
Theming
Theming with Fluent UI v9
In the following blog I go through:
- using PCF theming build-in features
- using theming in Canvas Apps/Custom Pages
- using theming in Model-Driven Apps (classic vs modern theming)
- generation an own (custom) theme with Fluent UI v9 (generate own brand ramp colors)
- dark mode with Fluent UI v9
Other interesting links:
PCF Controls with FluentUI v9 – Avoid DOM id collisions (by David Rivard)
Fluent UI v9
Interesting blogs about Fluent Ui v9, by David Rivard on his blog “it must be code”:
- Develop PCF Controls with FluentUI React v9
- PCF Controls – Tree-Shaking For Better Bundle Size
- Adapting PCF Controls for Model Driven apps New (Modern) Look
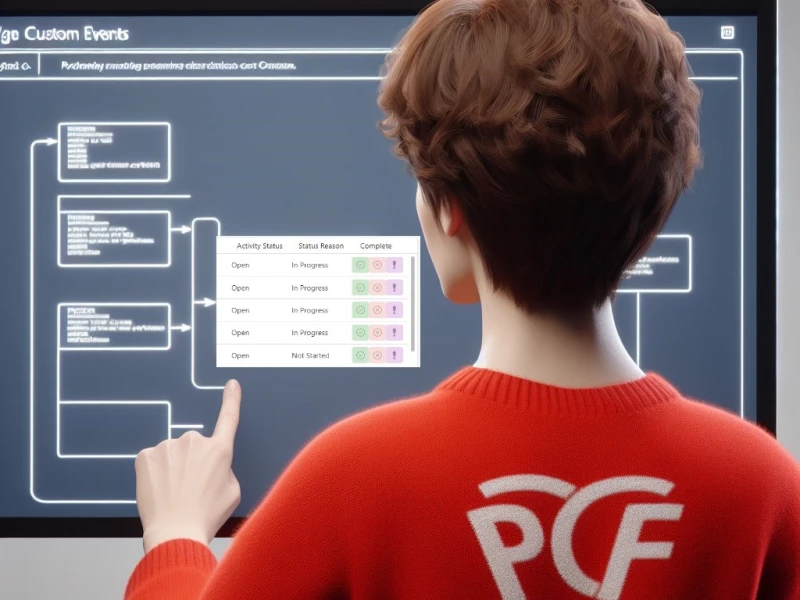
Custom Events
In the blow below, I’m going through all kind of event triggering possibilities:
- onChange (model-driven apps, canvas apps)
- onOutputChanged (for model-drieven apps)
- custom events
- but also how to get the context data for the triggered event
Power Apps Grid customizer control
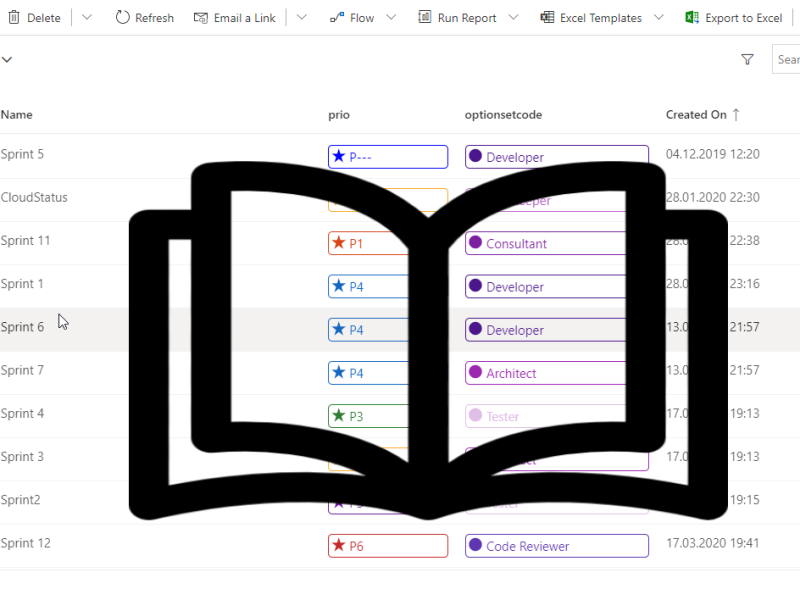
The Power Apps Grid is the grid used in all apps (canvas apps, model-driven apps, can be used on portals). Beyond the standard possibilities, we can host our own PCF inside the grid using the Power Apps Grid customizing control. In the following blog I’m showing how to implement the renderer (read-only mode) and the editor, on the example of a boolean and an optionset column.
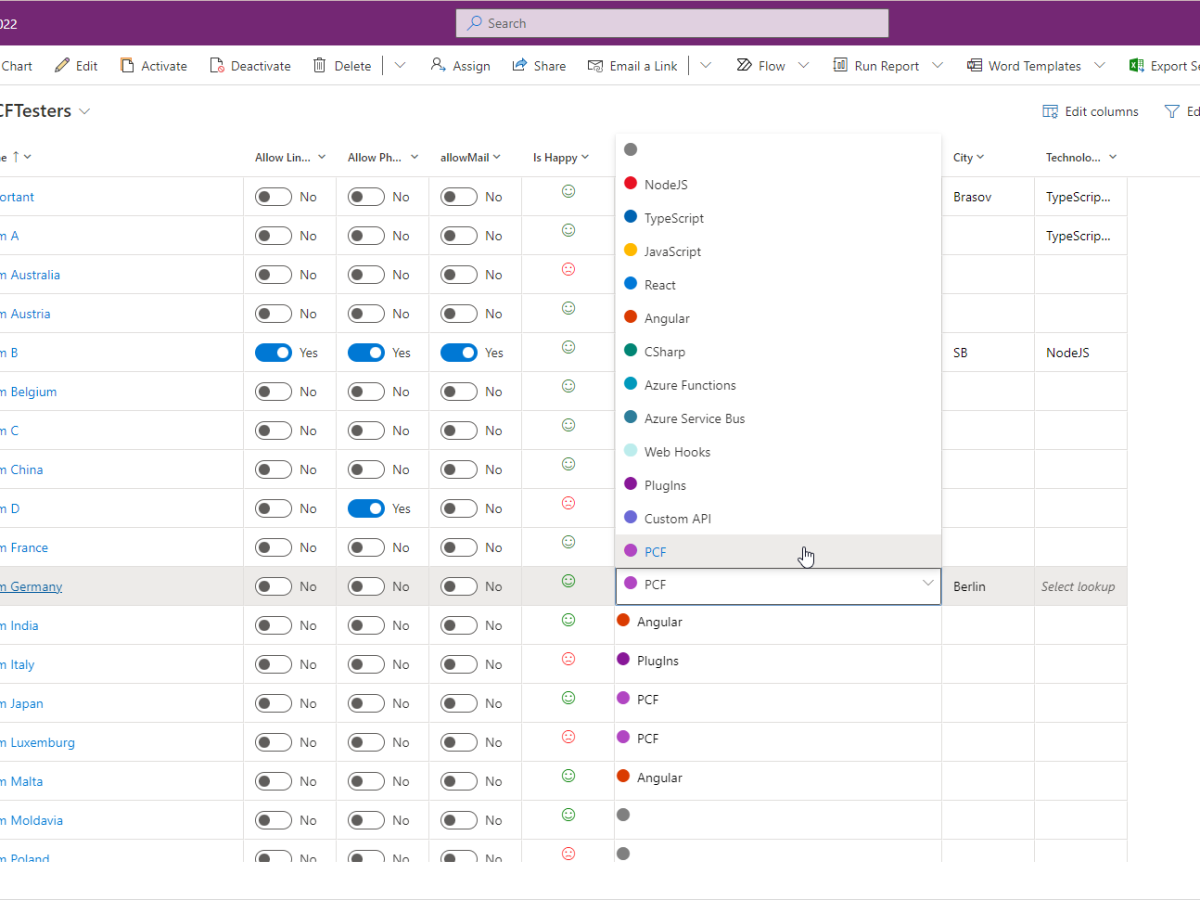
In the following blogs, there are a lot of use cases which can be implemented with the customizer control (instead of implementing a complete dataset PCF). This means significantly reduce effort, and better maintainability.
Extended requirements
Drag & Drop between PCF
A way to implement drag & drop with PCF. One way is to place a transparent DIV over other low-code components, and let this PCF use the HTML5 drag&drop work for you. This way you can implement the drag&drop between your own PCFs too. And it works in canvas apps (custom pages) and model-driven apps too.

Photo by Miguel Á. Padriñán from Pexels: https://www.pexels.com/photo/blog-blocks-wallpaper-1591056/
Photo by Joshua Woroniecki: https://www.pexels.com/photo/person-holding-a-compass-3832684/
